Pineapple buns
Cover Pineapple buns

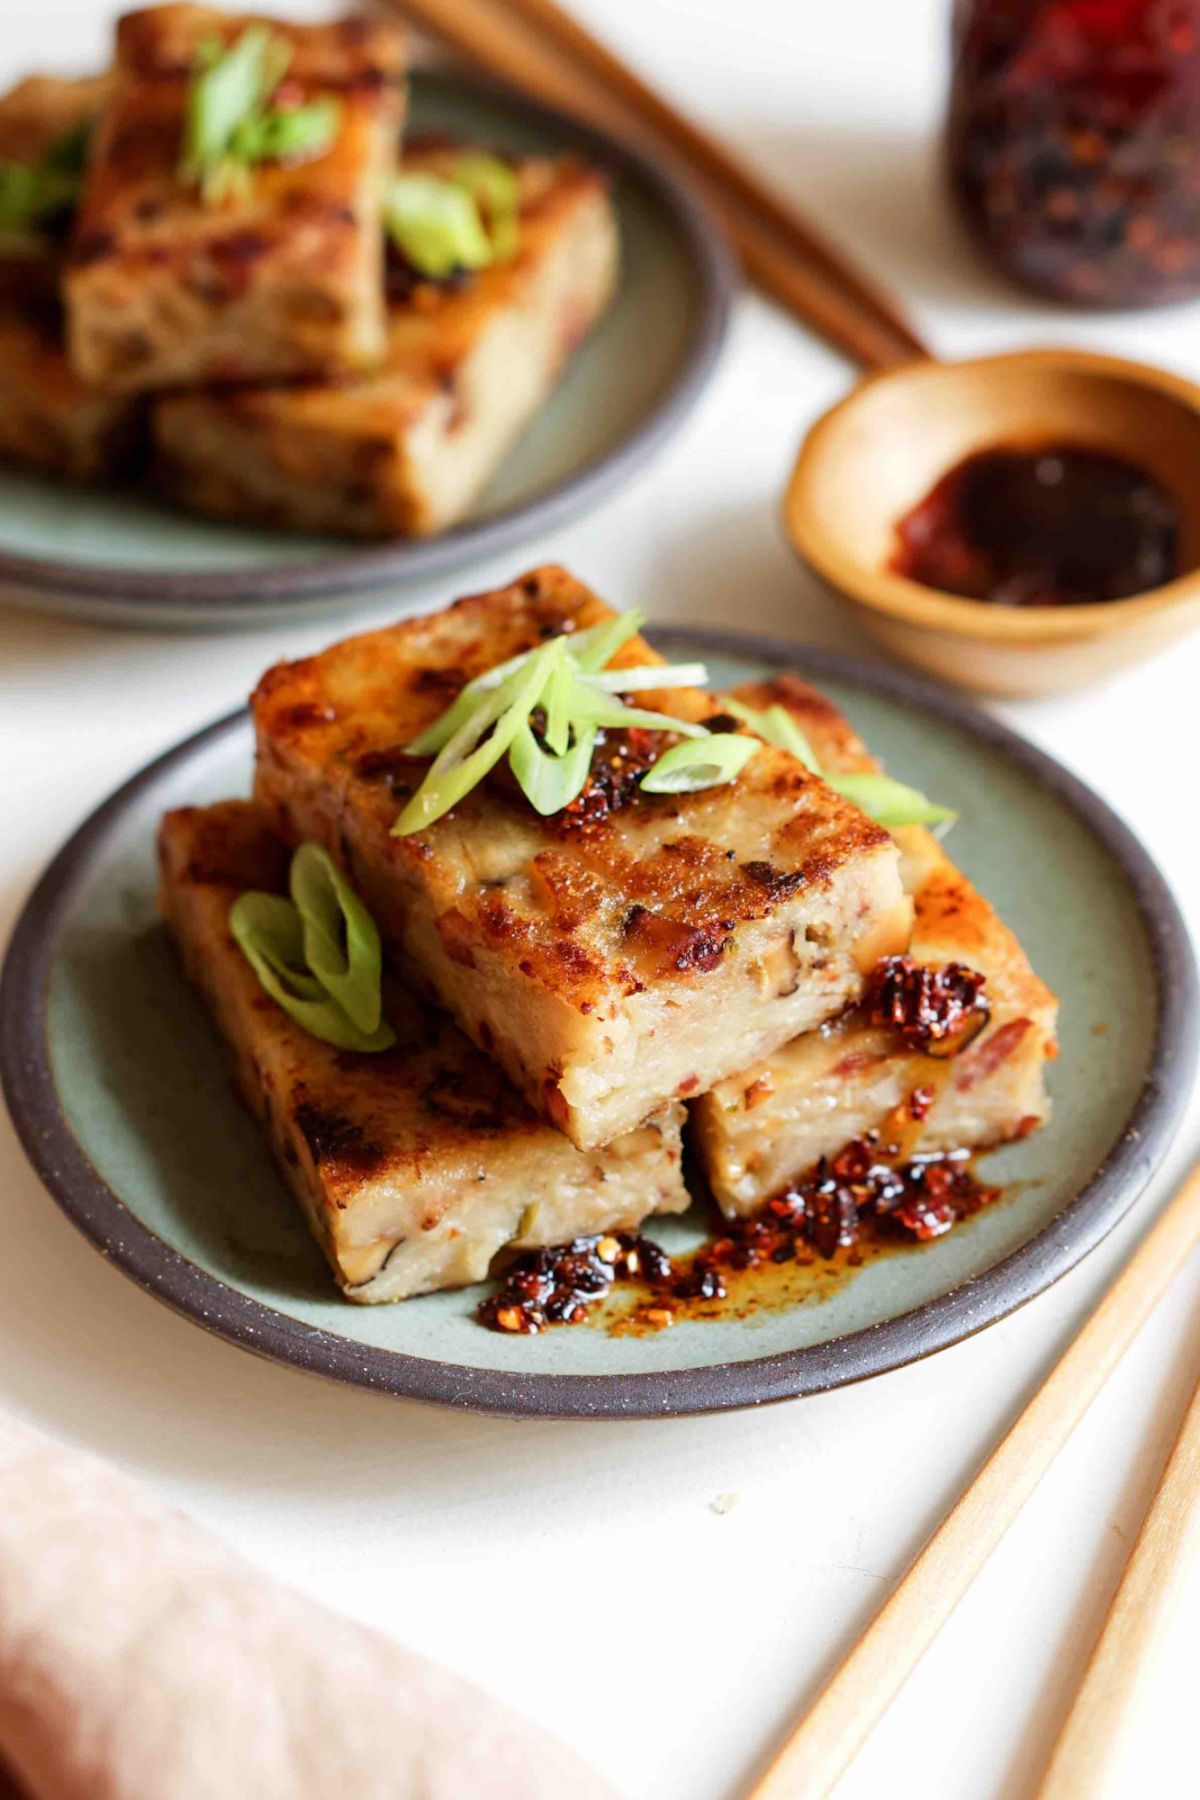
Blogger Kristina Cho of Eat Cho Food shares recipes for turnip cake, egg tarts and pineapple buns taken from her new cookbook Mooncakes and Milk Bread, which celebrates Chinese baking

Chinese bakery has always been an important category of cooking for architectural designer-turned-food blogger Kristina Cho. But when she started sharing recipes for treats such as hot dog flower buns and red bean swirl buns on her blog, she realised that she wasn’t the only one who was keen to re-create classic Chinese sweet and savoury treats straight from the bakery at home. And so, Mooncakes and Milk Bread was put in motion, a cookbook she believes to be the first focused on Chinese bakery cooking.

We spoke to Cho about her cookbook and excerpted three classic Chinese bakery recipes for you to try at home.


1. Classic Egg Tarts

Tatler Asia
Classic egg tarts
Above Classic egg tarts

Makes 12

She’s beauty and she’s grace. She’s the most popular Chinese pastry in the United States. Egg tarts are buttery and flaky, and their resemblance to little sunbursts makes you smile just looking at them. At the end of every dim sum feast, after we’ve eaten our fill of cheung fun and dumplings, my mom would track down the cart full of golden egg tarts. If she couldn’t find the cart, she’d flag down a waiter to put in a special order for at least two dozen freshly baked egg tarts, enough for each of us to inhale a pastry or two at the table and a few extra to take home and enjoy later.

Egg tarts are a perfect example of the European influence in Chinese culture. Pastry chefs in Hong Kong utilised the techniques and ingredients that were accessible to them, including lard instead of butter and evaporated milk as a substitute for fresh cream or milk. Like those chefs, I use what is most commonly found in my local grocery stores. So while this recipe uses butter, by all means use lard, if you can find it.   

There are three different types of egg tarts: with a puff pastry base, with a shortcrust base, and Macau style, featuring a laminated base and a caramelised custard filling. A crisp pastry base and a smooth, sweet filling is essential, but I like the variety you get with the Chinese puff pastry base, featured here. The texture of flaky pastry, shattering into a field of crumbs and juxtaposed with the rich eggy filling, is one of the most satisfying bites.                           

For the Filling

100g (1/2 cup) sugar

150g (2/3 cup) water

2 large eggs plus 1 large egg yolk

90g (1/4 cup plus 2 tablespoons) milk         

1/2 teaspoon pure vanilla extract

Chinese Puff Pastry (see below)

All Purpose flour, for rolling

1. Make the filling: In a small saucepan, combine the sugar and water. Swirl the saucepan and bring the mixture to a boil over medium heat. Boil until the sugar has dissolved and the mixture has thickened, 3 to 4 minutes. Remove the saucepan from the heat and allow the syrup to cool for 10 minutes.

2. In a medium mixing bowl, whisk to combine the eggs and egg yolk, milk, and vanilla. Pour the syrup into the egg mixture, whisking until smooth. (As an extra step to ensure a really smooth custard, you can strain the egg mixture through a fine mesh sieve to remove any bits of egg that didn’t fully incorporate.)

3. On a lightly floured surface, roll the pastry into a roughly 12 x 16-inch rectangle. Using a fluted 4-inch cookie cutter, cut out 12 rounds.
Gently press the rounds into twelve 3-inch tart molds, pressing against the bottom and sides to prevent air pockets. The pastry should extend about 1/4 inch above the rims. Arrange the pastry molds on a plate or medium rimmed baking sheet and refrigerate until firm, at least 20 minutes or overnight (cover with plastic wrap if chilling overnight).                

4. Preheat the oven to 400°F.                                      

5. Place the tart shells on a large rimmed baking sheet, spaced 2 inches apart. Fill each tart shell with the filling, up to 1/4 inch below the edge of the pastry. Bake for 15 minutes. Reduce the heat to 350°F and bake until the filling is set but still has a slight jiggle in the centre, 20 to 24 more minutes.            

6. Transfer the baking sheet to a wire rack and let the tarts cool on the sheet for 10 minutes. Remove the egg tarts from the tart molds and serve warm or at room temperature.                                                       

●      Special equipment: This recipe requires 12 individual 3-inch metal tart or cupcake molds.            

●      The tarts can be refrigerated in an airtight container (a resealable bag works great) for up to 4 days (or frozen for up to 3 months). Reheat in a 350°F oven on a baking sheet until crisp and warmed through, 8 to 10 minutes (or a few minutes longer if they’re frozen). 

●      Store-bought puff pastry is totally acceptable, but I encourage you to try making the Chinese Puff Pastry for the true dim sum taste.

●      You will most likely have a decent amount of puff pastry left over, which is the nature of making neat pastry. Instead of discarding it, cut the scraps into roughly 3-inch pieces and bake in a 400°F oven until golden brown, 20 to 25 minutes. Once cooled, dust with a little confectioners’ sugar or cinnamon. Scraps also can be stored in the freezer for up to 3 months.


Chinese Puff Pastry

Makes about 1 1/2 pounds pastry (enough for 12 to 18 tart rounds)

Chinese puff pastry is similar to French puff pastry, with laminated layers of butter and flour that add up to one delightfully flaky dough. The differences between the French and Chinese varieties are subtle: the Chinese puff is slightly less buttery (don’t worry—there is still plenty of butter) and a tad more crisp.

For the Butter Block

227g (1 cup; 2 sticks) unsalted butter, chilled

150g (1 1/4 cups) all purpose flour                                                         

For the Flour Dough

210g (1 2/3 cups) all purpose flour, plus more for rolling                

1 large egg

1/2 teaspoon coarse salt

75g (1/3 cup) ice water

1. Make the butter block: Cut the butter into 1-inch cubes and place in the bowl of a food processor. Add the flour and pulse until smooth (it will be crumbly at first). Transfer the butter mixture to a sheet of plastic wrap. Fold the plastic over the butter mixture and then press to form a roughly 5-inch square. Refrigerate until firm but still somewhat pliable, 30 to 35 minutes.

2. Make the flour dough: Place the flour, egg, salt, and ice water in the clean bowl of the food processor. Pulse just until a smooth ball of dough forms. Transfer the dough to a lightly floured surface and slightly flatten into a disk. Wrap the dough in plastic wrap and refrigerate until chilled, 30 to 35 minutes.

3. Unwrap both the dough and butter block. Lightly dust a clean work surface with flour and roll out the flour dough with a large rolling pin into a 7 x 10-inch rectangle. Place the butter block in the centre of the dough and fold the edges of the dough over the butter block so that it is tightly wrapped. Flip over the pastry dough so it is seam-side down. Continue to lightly dust the work surface if the dough starts to stick.

4. With the rolling pin, firmly press down on the dough to thin it out (this should prevent it from tearing). Roll out the dough into a 6 x 12-inch rectangle. Fold the dough into thirds, like a letter, and press it down with the rolling pin again to flatten. Roll the dough into a 6 x 12-inch rectangle and repeat the process of folding the dough into thirds like a letter one more time. Flatten and roll the dough into an 8 x 12-inch rectangle and wrap tightly with plastic wrap.

5. Refrigerate the dough for at least 30 minutes before working it again. At this point, the puff pastry can be either frozen or refrigerated for future use.

2. Pineapple Buns

Tatler Asia
Pineapple bun
Above Pineapple bun

Makes 12

Every Chinese bakery must have a pineapple bun in their case. Despite the name, the bun has no pineapple—it’s a soft milk-bread bun with a sweet, buttery, crackly cookie-like top that, after it’s baked, resembles pineapple skin. The simple, iconic treat has a loyal following, even beyond Asian cultures: everyone loves a good pineapple bun. When I was younger, I’d slyly pick off the cookie topping and leave the plain bun behind for my brother. (When you’re the older sister, you can get away with things like that.)

Few things transcend enjoying a fresh pineapple bun still warm from the oven. You can eat it plain, or if you want to be like a true Hong Konger, slice the bun in half and stick a thick slice of cold butter inside.

For the Buns              

Mother of All Milk Bread Dough (see below), made through step 4

All Purpose flour, for dusting the work surface                                                           

For the Topping

250g (2 cups) all purpose flour

1/4 teaspoon baking soda

1/4 teaspoon coarse salt

113g (1/2 cup; 1 stick) unsalted butter, softened     

100 g (1/2 cup) sugar

1 large egg

1/2 teaspoon pure vanilla extract

2 drops yellow food colouring

For the Egg Wash      

1 large egg, white and yolk separated into two small bowls

1. While the dough is proofing, line two large rimmed baking sheets with parchment paper.

2. Make the buns: After the first proof, punch down to deflate the dough and transfer it to a lightly floured surface. Pinch and pull the ends of the dough to form a smooth ball. Divide the dough into 12 equal portions with a bench scraper (for accuracy, weigh with a digital scale if you have one). Form each portion of dough into a smooth ball by pulling the ends of the dough underneath and then rolling between the palms of your hand, and arrange on the prepared sheets, spacing at least 3 inches apart. Cover with a damp, clean kitchen towel and set aside in a warm spot until the buns are doubled in size, 45 minutes to 1 hour.

3. Meanwhile, make the topping: In a small bowl, whisk together flour, baking powder, and salt. In a medium bowl, combine the softened butter and sugar with a flexible spatula until smooth. Add the egg, vanilla, and food coloring, mixing until smooth. Fold the flour mixture into the butter mixture to form a sandy dough, then knead by hand until smooth. Pat into a disc and divide the dough into 12 equal portions with a bench scraper (for accuracy, weigh with a digital scale if you have one). Roll one piece into a smooth ball, then flatten into a 4-inch round with a dowel rolling pin. Score a crosshatch pattern into the dough with the edge of a bench scraper or knife, being careful not to cut all the way through. Use the edge of the bench scraper to lift the topping off the work surface. Repeat with remaining topping dough, setting each round aside until ready to top the buns. (Alternatively, you can skip making the crosshatch pattern. The topping will still crack beautifully as it bakes, just not as neatly.)

4. Preheat the oven to 350°F. Brush the tops of the buns lightly with the egg white to help the topping adhere. Place one topping dough round on each bun, gently pressing to cover the entire outer edge (you want the dough to fully encase the top of the bun, if possible). Whisk the egg yolk in a small bowl and lightly brush over the topping of each bun.                     

5. Bake the buns until golden brown, 18 to 20 minutes. Transfer the sheets to a wire rack. Let the buns cool for 5 minutes on sheets, then transfer to the rack to cool. Serve warm or at room temperature.

Buns can be kept in an airtight container (a resealable bag works great) at room temperature for up to 4 days, or in the freezer for up to 3 months. Reheat room temperature buns in the microwave for 15 to 20 seconds or on a baking sheet in a 300°F oven for about 5 minutes, until soft and warmed through. Reheat frozen buns on a baking sheet in a 350°F oven for 10 to 15 minutes.


Milk Bread

For the Tangzhong                                                

100g (1/4 cup plus 3 tablespoons) milk

20g (2 tablespoons) bread flour

For the Milk Bread                            

125g (1/2 cup plus 1 tablespoon) warm (110°F) milk

1 teaspoon active dry yeast

50g (1/4 cup) granulated sugar, plus a pinch

335g (2 2/3 cups) bread flour, plus more for work surface

1/2 teaspoon coarse salt 1 large egg

55g (4 tablespoons) unsalted butter, cut into pieces and softened

1 teaspoon canola or other neutral flavoured oil, for bowl

1. Make the tangzhong: In a small saucepan over low heat, combine the flour and milk and cook, whisking constantly, until thickened to a paste, 2 to 3 minutes. Immediately transfer the paste into a small bowl, scraping the sides of the saucepan with a flexible spatula; let cool until warm, 5 to 10 minutes. Texture should resemble mashed potatoes.

2. Make the milk bread: In a clean or new small saucepan, scald the milk over medium heat, bringing the milk to a gentle simmer (watch carefully as milk tends to boil over). Pour milk into a small bowl and cool until warm to the touch (about 110°F). Stir in yeast and a pinch of sugar, and set aside until the surface of the mixture is foamy, 5 to 10 minutes.

3. In the bowl of an electric mixer fitted with a dough hook, combine the sugar, flour, salt, and egg. Add the tangzhong and milk and mix on low until shaggy. Add the softened butter one piece at a time, mixing until fully incorporated before adding the next. Increase the speed to medium-high and continue to knead the dough until it is tacky and slightly sticky, 8 to 9 minutes. Transfer the dough to a lightly floured work surface. Wet your hands to prevent the dough from sticking, pinch and pull the ends of the dough to form a smooth ball.

4. Coat a large mixing bowl with 1 teaspoon of oil. Add the dough to the bowl, gently turning it to cover with oil. Cover the bowl with plastic wrap and set in a warm spot to proof until doubled in size, about 2 hours (or place in the refrigerator to proof for at least 8 hours or overnight).

3. Turnip Cake

Tatler Asia
Turnip cake
Above Turnip cake

Makes 1 8-inch cake

The name “turnip cake” is quite deceiving. This savoury cake, which is cut into squares and pan-fried, is made mostly of daikon—not turnip—along with bits of mushroom and salty meat bound together in a batter of rice flour. So, no . . . it’s not a new spin on carrot cake. When a turnip cake is really, really good, it has a fighting chance of being the star at the dim sum table. The ideal turnip cake is light and not too mushy on the interior, and nicely caramelised and crispy on the exterior. Finely minced mushrooms, Chinese sausage, and dried shrimp should be evenly suspended in the batter. Most important, it should be hot! This can be a problem at cafes, where plates of turnip cake often sit around too long and slowly miss their window of peak freshness. To avoid this sad dilemma, I love makng a turnip cake at home, keeping it in the fridge for a few days, and frying fresh squares each morning. Refrigerating the cake also allows it to set properly and gives you cleaner slices.

A word of caution if you haven’t cooked with daikon before: it is a very odorous root vegetable. Some don’t mind the smell, but be sure to let everyone in the house know when you’re getting ready to cook a fresh batch of lo bak gao.                                                           

4 dried shiitake mushrooms

2 tablespoons dried shrimp

4 tablespoons canola or other neutral flavoured oil, divided

2 Chinese sausages, finely minced

2 green onions, whites and greens, finely chopped

450g (1 large) daikon radish, grated

2 tablespoons oyster sauce 1 teaspoon sugar

1/2 teaspoon ground white pepper

125g (3/4 cup) rice flour

35g (1/4 cup) cornstarch

Nonstick cooking spray (optional) Hoisin sauce, for serving

Chilli oil, for serving

1. Place the mushrooms and shrimp in two separate small bowls. Cover both with boiling water until submerged and soak until softened, 30 to 45 minutes. Drain the liquid from both, and finely chop.

2. In a large skillet, heat 2 tablespoons of the oil over medium-high heat. Add the mushrooms, shrimp, sausage, and green onions. Cook, stirring occasionally, until everything is crisp and the fat from the sausage has rendered, 4 to 5 minutes. Transfer to a medium mixing bowl.

3. In the same skillet heated over medium-high heat, add the daikon and enough water to just cover. Bring the water to a simmer and simmer until the daikon looks like rice porridge and most of the water has evaporated, at least 30 minutes. Transfer the daikon to the bowl with the mushrooms.

4. Add the oyster sauce, sugar, and white pepper to the bowl, stirring to combine. Add the rice flour and cornstarch and stir until well combined. (The batter will be very thick.)

5. Coat an 8-inch round cake pan with nonstick spray or brush with oil. Transfer the batter to the prepared pan and smooth the top with a flexible spatula.

6. Prepare your steamer setup, using a steamer big enough to fit the cake pan, and bring water to a boil. Place the cake pan in the bamboo steamer basket, cover, and steam for 35 minutes. Place the steamer basket on a wire rack and remove the lid. Allow the cake to cool for 30 to 45 minutes. The cake will initially be a little soft but will firm up as it cools. Cover the cake with plastic wrap and refrigerate until firm and set, at least 2 hours or up to overnight.

7. Cut the cake into squares; you’ll have a few scraps left over. In a large nonstick skillet, heat the remaining 2 tablespoons oil over medium heat. Working in batches, add the cut squares to the pan and fry until crisp and golden brown on each side, 3 to 4 minutes total. Serve immediately with hoisin or chilli oil.

Recipes taken from Mooncakes and Milk Bread by Kristina Cho, available from 12 October. Copyright 2021 by Kristina Cho. Photographs copyright Kristina Cho. Used by permission of Harper Horizon, an imprint of HarperCollins Focus LLC.

Topics